Creating your wearable masterpiece is a uniquely satisfying experience in a world where mass-produced fashion rules. Here’s where tie-dying comes in—a classic and colourful method that gives your boring white clothes a new lease on life. We’ll discuss the delights of DIY tie-dying in this blog.
Getting Started: Gather Your Supplies
1. White or Light-Colored Clothing: Choose natural fibres like cotton for optimal dye absorption.
2. Fabric Dye: Opt for a tie-dye kit with various colours or individual fabric dyes.
3. Rubber Bands or Strings: Your tools for creating patterns through folding or tying.
4. Plastic Squeeze Bottles or Spray Bottles: Apply the dye precisely or achieve a more blended effect.
5. Plastic Gloves: Protect your hands from the vibrant dye.
6. Plastic Bags or Plastic Wrap: Essential for covering your creations during the setting process.
7. Let the Tie-Dye Adventure Begin: Step-by-Step Guide
Step 1: Prepare Your Workspace
Cover your work surface with a plastic tablecloth or garbage bag. Because tie-dying can get messy, keeping the surrounding area clean is best.
Step 2: Choose Your Canvas
Choose your white or light-coloured apparel. Recall that natural fabrics, such as cotton, absorb dye the best.
Step 3: Dampen Your Clothing
Wet your clothes a little bit. The damp fabric makes it easier for the dye to disperse and increases the vibrancy of your designs.
Step 4: Get Creative with Folding and Tying
This is the point of magic. Try out various folding methods or make patterns with rubber bands. The final design of your clothing will depend on how you fold or tie it.
Step 5: Mix Your Dyes
Put on your plastic gloves and mix the colours according to the directions on your tie-dye kit or individual fabric dyes. Pick a colour scheme that speaks to your inner artist and embrace your creativity.
Step 6: Apply the Dye
Use plastic or squeeze bottles to apply the dye to your knotted garments. You are welcome to combine colours to create a symphony of colours. Allow your imagination to soar!
Step 7: Cover and Let it Set
Cover your creations with plastic wrap or bags after applying the dye. This is an important step because it helps the dye set and keeps colours from bleeding into one another.
Step 8: Patience is a Virtue
Let the dye do its magic. Its colour will automatically sit in a few hours to look extremely vivid. The longer they rest, the more long-lasting the colour will be.
Step 9: Rinse and Unwrap
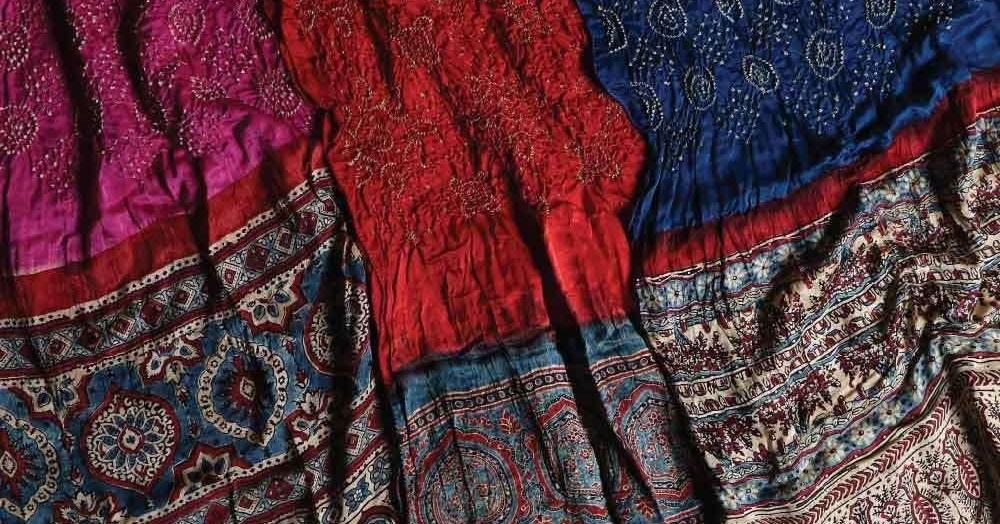
Here comes the big moment. After washing the sarees, we get to unwrap them — and voila! Be sure to rinse the saree in cold water. This washing stage is crucial as it lets the colour stain the saree, and the excess is washed off. Caution is needed at this step to make sure the colour does not blot or smudge. With proper handling, this stage ensures vivid stains.
Step 10: Wash and Enjoy
Cold water is essential, or the dye will start leaking, and blotches are possible if the water is hot. Once we have averted colour bleeding, let the saree dry down. And your tie-dye Bandhani saree is ready to win over the world!!
Conclusion: Embrace the Art of Tie-Dyeing
Tie-dyeing is an art deeply rooted in creativity. It somehow retains an element of childhood nostalgia as we used to tie-dye white t-shirts as children. With sarees, we can give this craft a new platform of self-expression. This form of wearable art helps best to add colours to one’s wardrobe.
Who says that we have to stop imagining once we grow old? Quite the contrary. Create a closet full of custom works. Jump into adventures of finding yourself with custom tie-dyes. Craft your uniqueness with Bandhani sarees.